 "MR2_FTW - Group J's resident Stig" (MR2_FTW)
05/17/2018 at 15:57 ē Filed to: None
 7
7
 1
1
 "MR2_FTW - Group J's resident Stig" (MR2_FTW)
05/17/2018 at 15:57 ē Filed to: None |  7 7
|  1 1 |
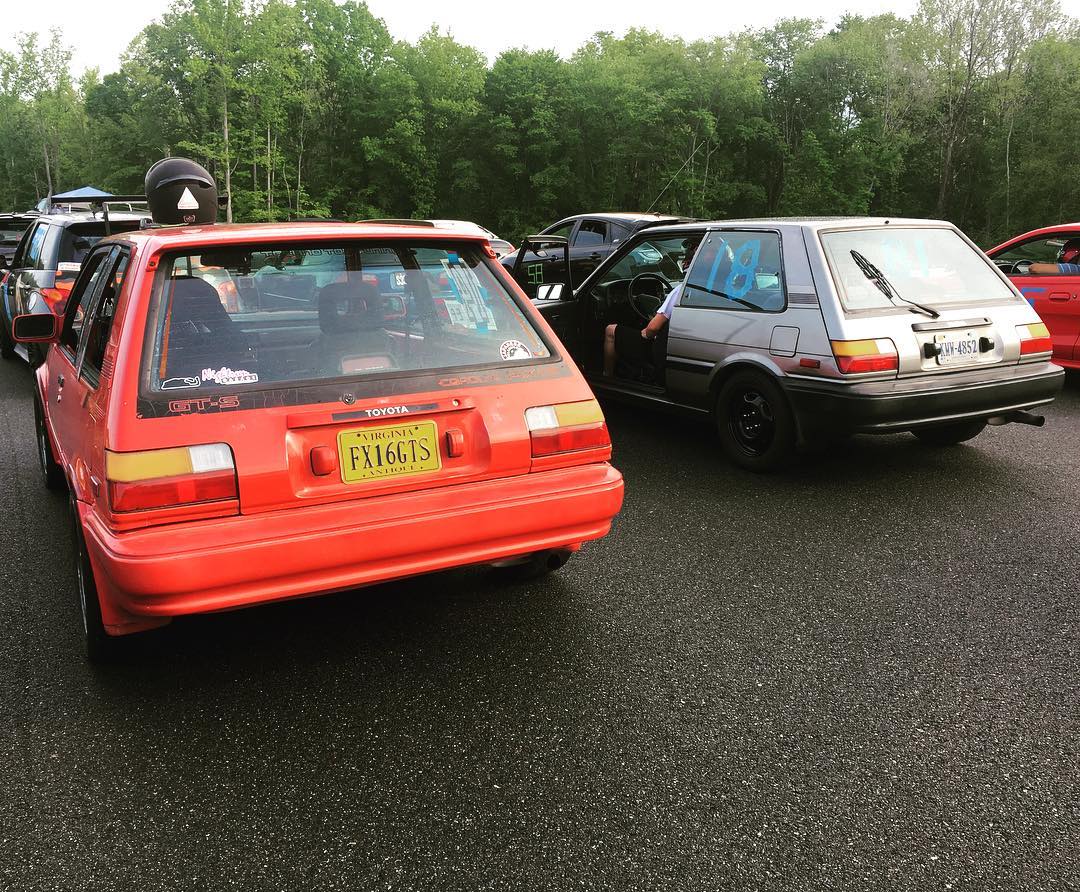
After a !!!error: Indecipherable SUB-paragraph formatting!!! , a few small issues made themselves known that needed to be addressed.
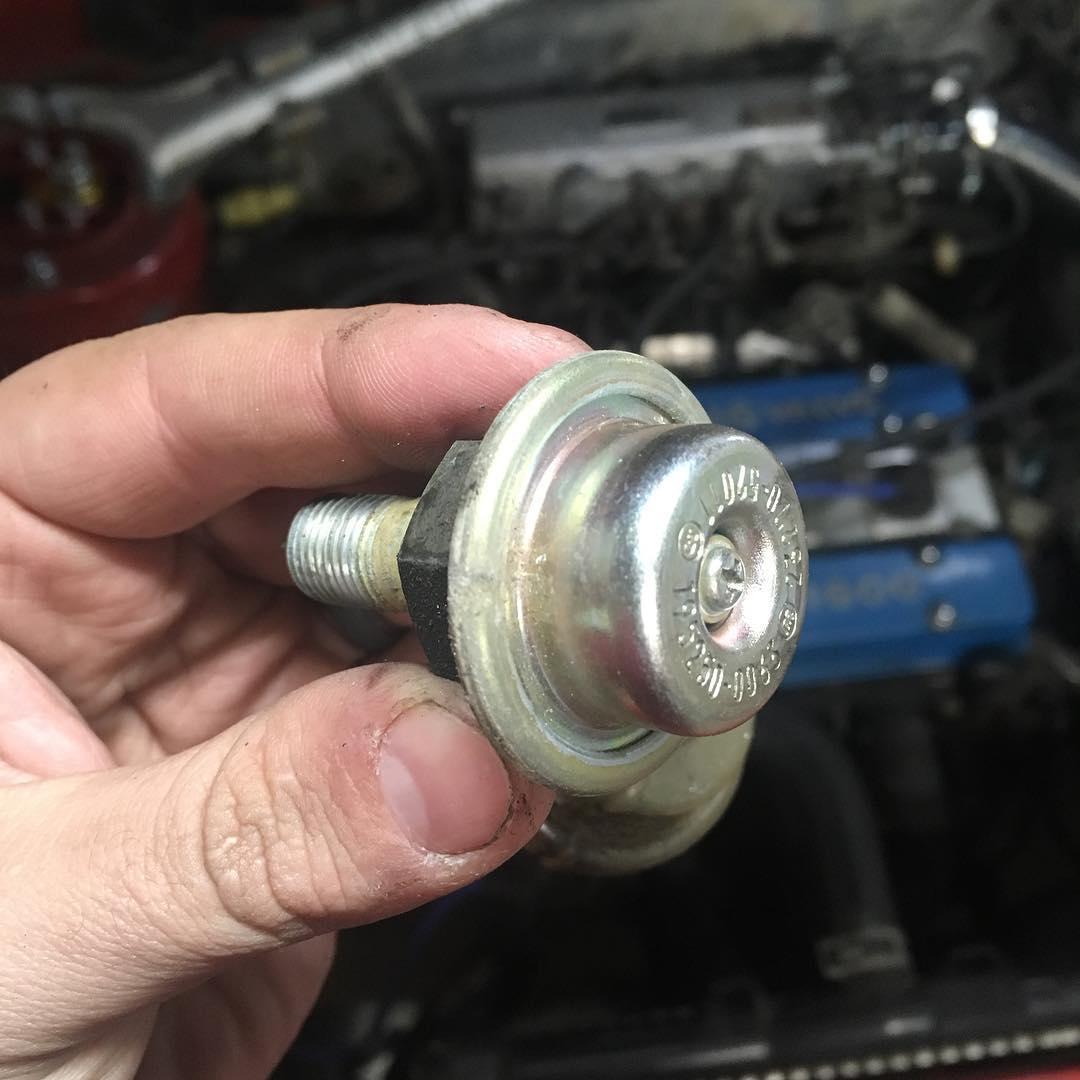
The most obvious issue was a strong fuel smell coming from the engine bay. Turns out the culprit was the pulse damper for the fuel rail. It had failed internally and was leaking out from the screw on top.
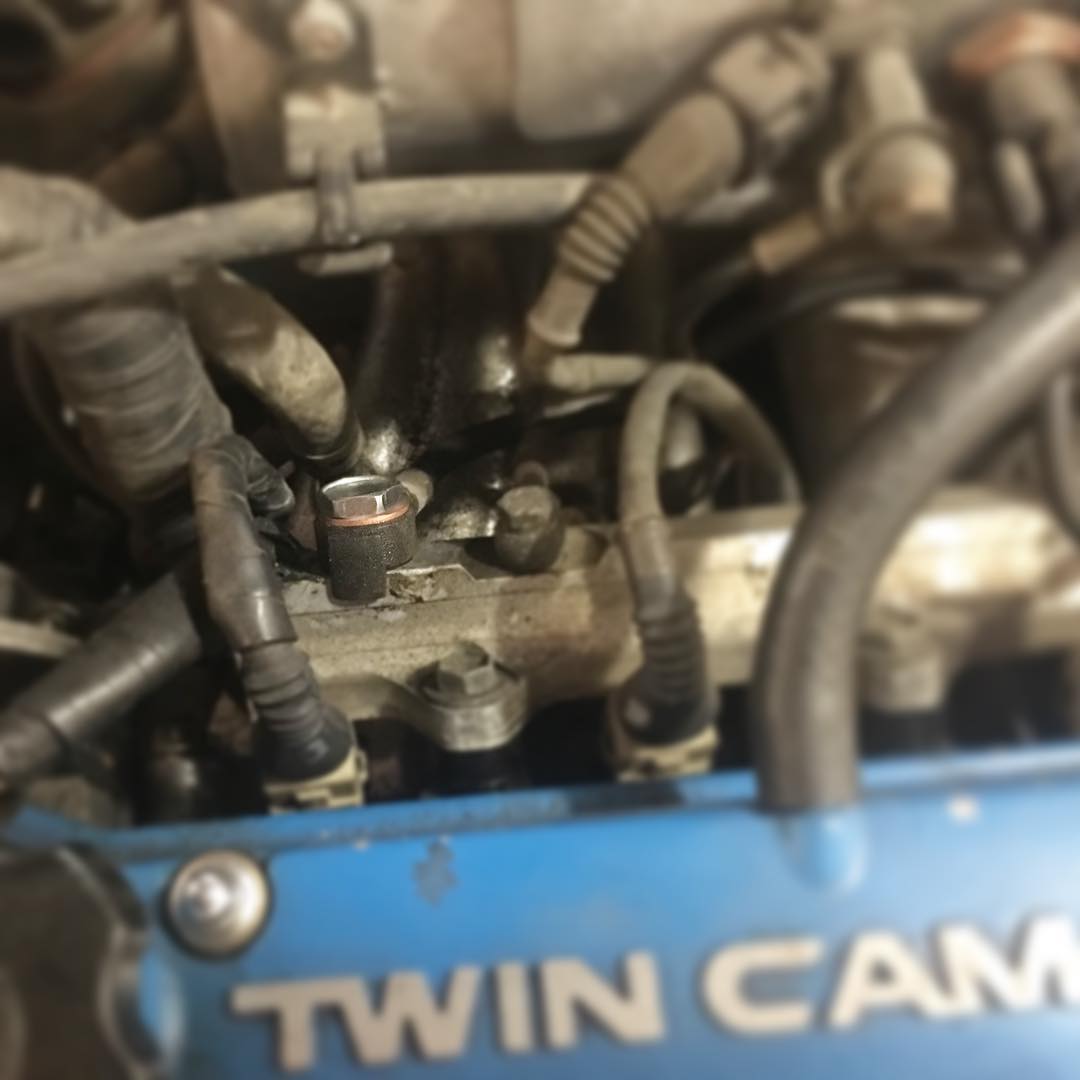
This was replaced with a banjo bolt to prevent future failures. I had done a similar mod on my old Cressida Wagon and had no issues, so hopefully this will be the same.
The next issue to tackle appeared when reviewing GoPro footage from the trackcross. In this suspension video you can see the rear-most bushing on the front control arm has a ton of lateral play and needs to be replaced.
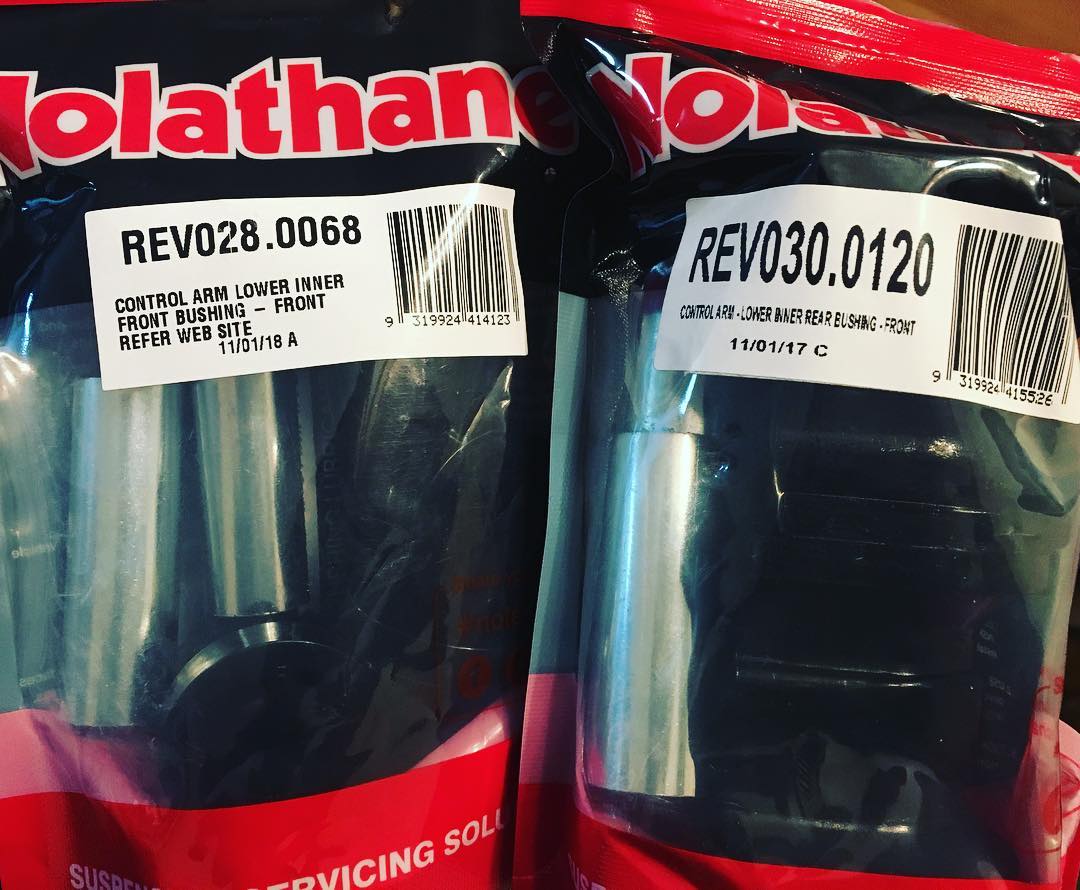
Obviously this was a perfect opportunity for an upgrade to polyurethane bushings by Nolathane.
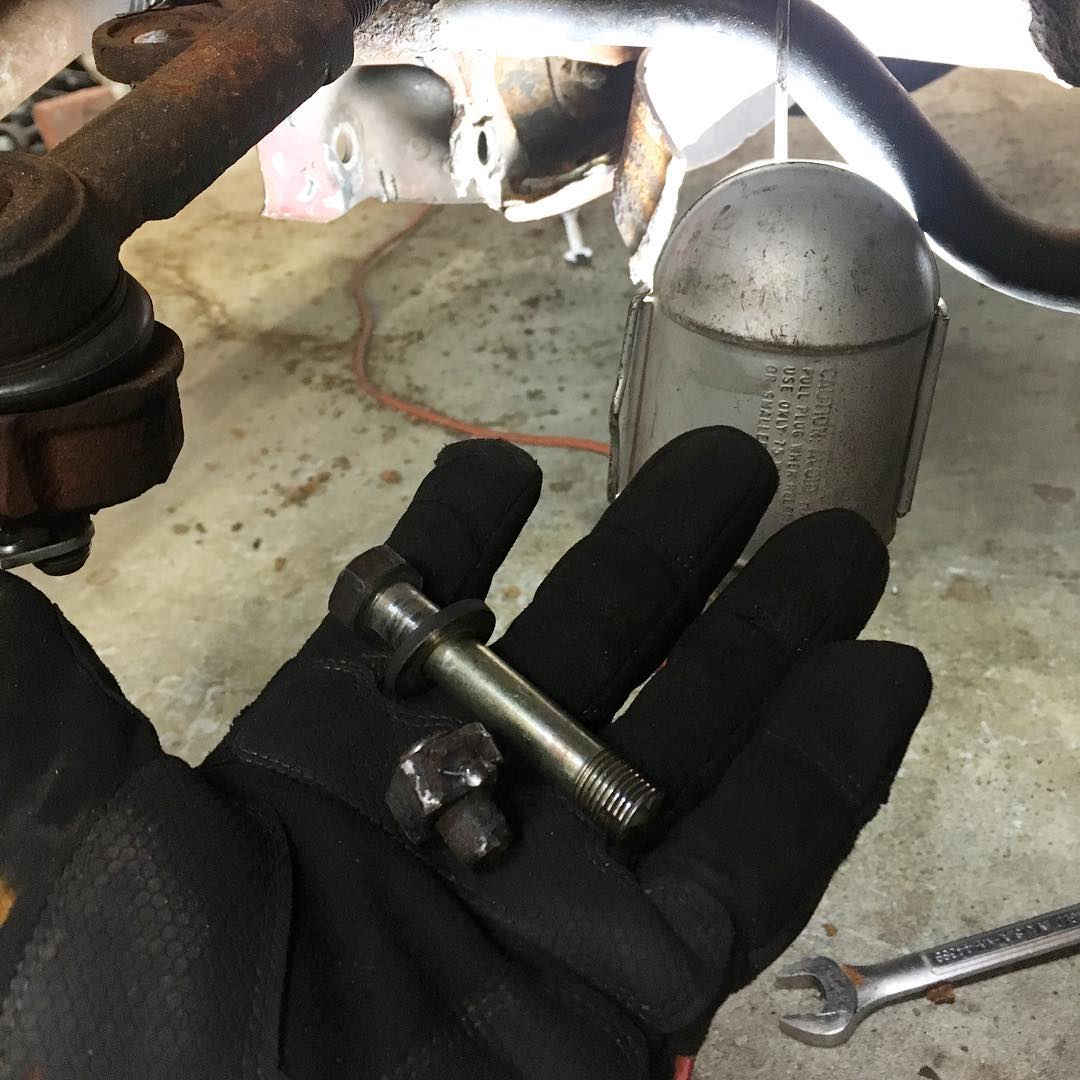
Of course, nothing about working on older cars is as easy as it seems. The front control arm bolts thread into a captive nut inside the chassis, and on both sides these captive nuts broke loose. This resulted in the bolt just spinning but not coming out. The only way to remove them was to cut them.
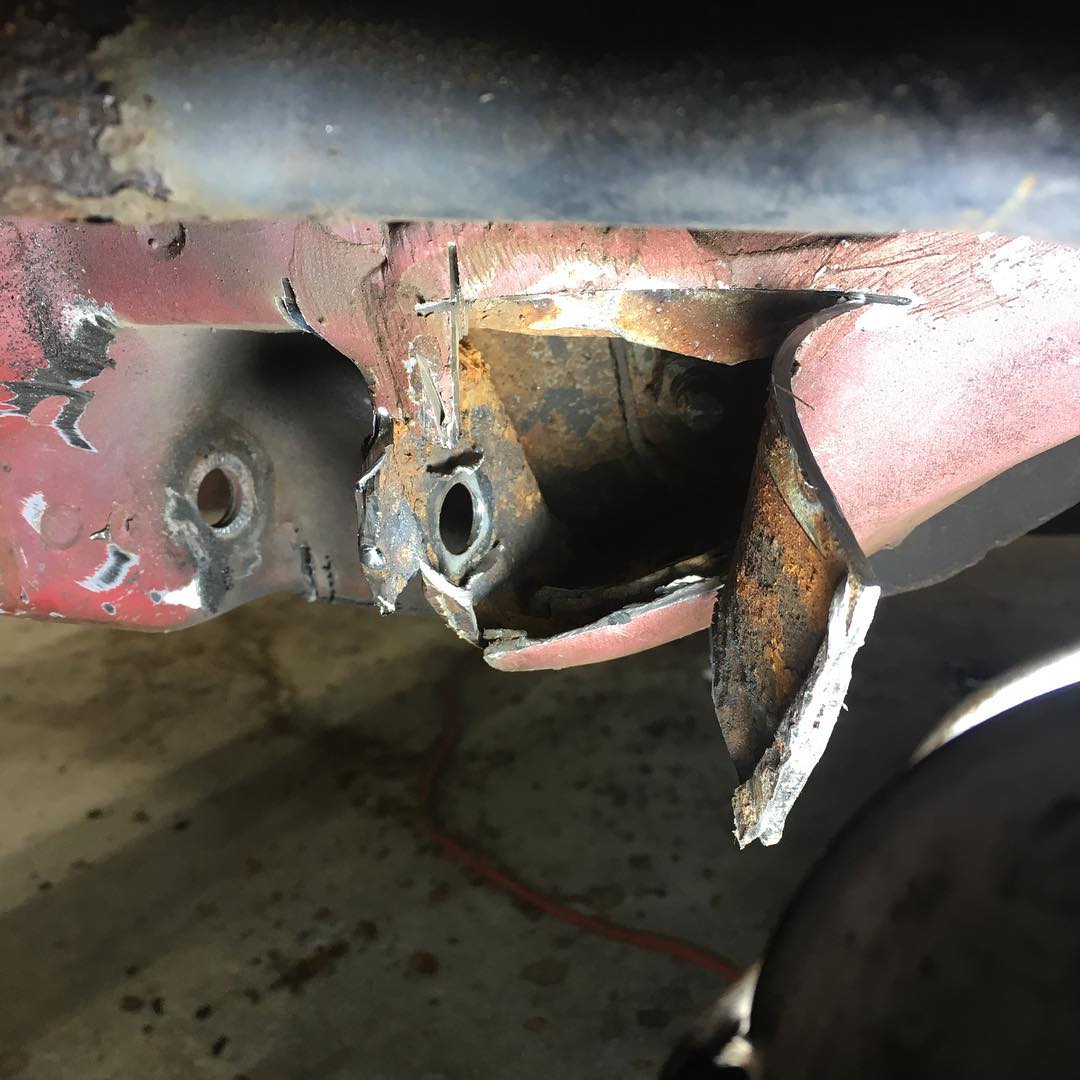
With the bolts out, I was still left with the issue of the captive nuts in the chassis. By cutting an access hole, I was able to remove the old nuts and solidly weld in replacements. This should be much stronger than the rusty cage brackets holding the original nuts.
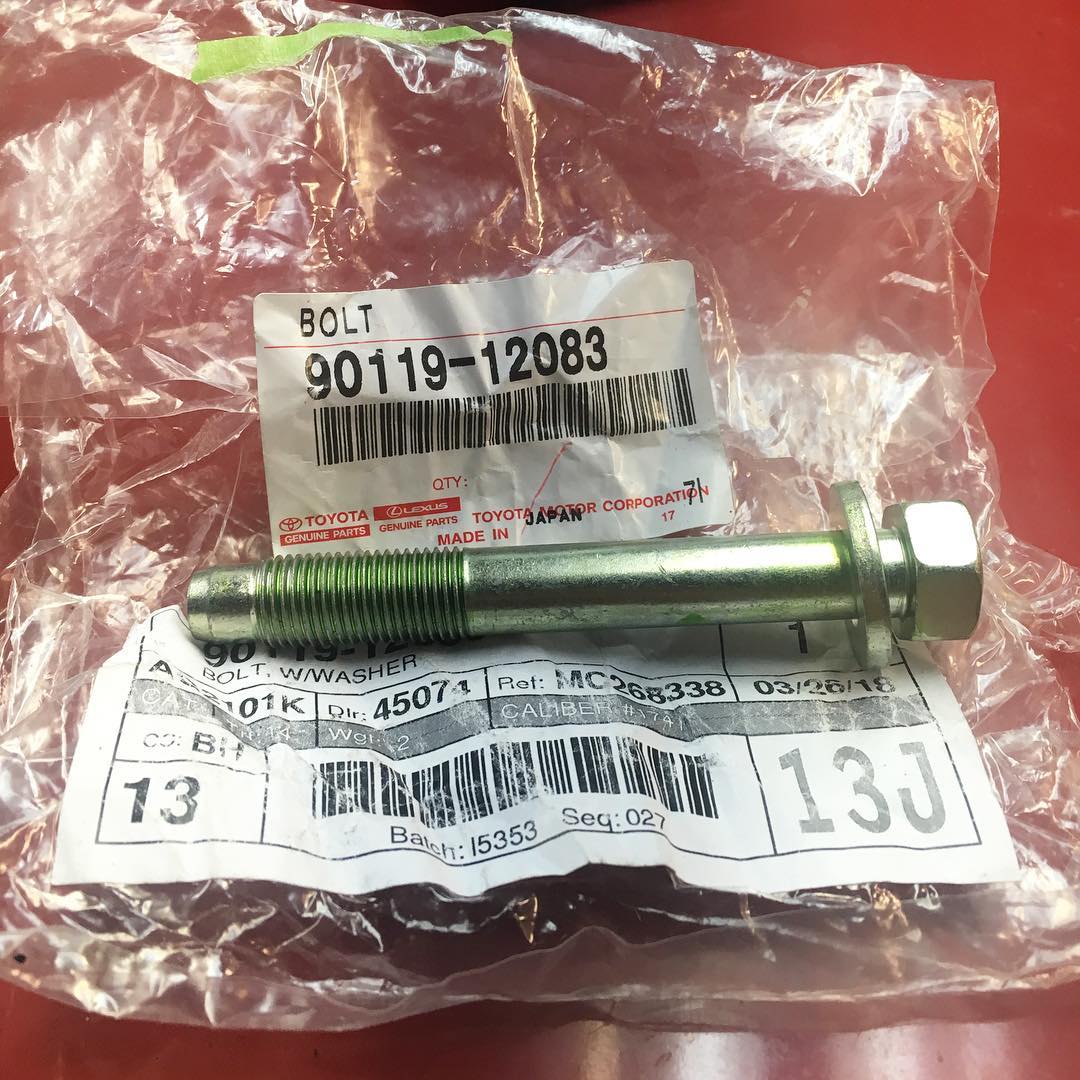
Some new bolts were ordered from Toyota and went right in. Unfortunately I donít have any pictures of the ďafterĒ from cutting the holes, but they were welded shut and everything received a generous coat of rubberized undercoating.
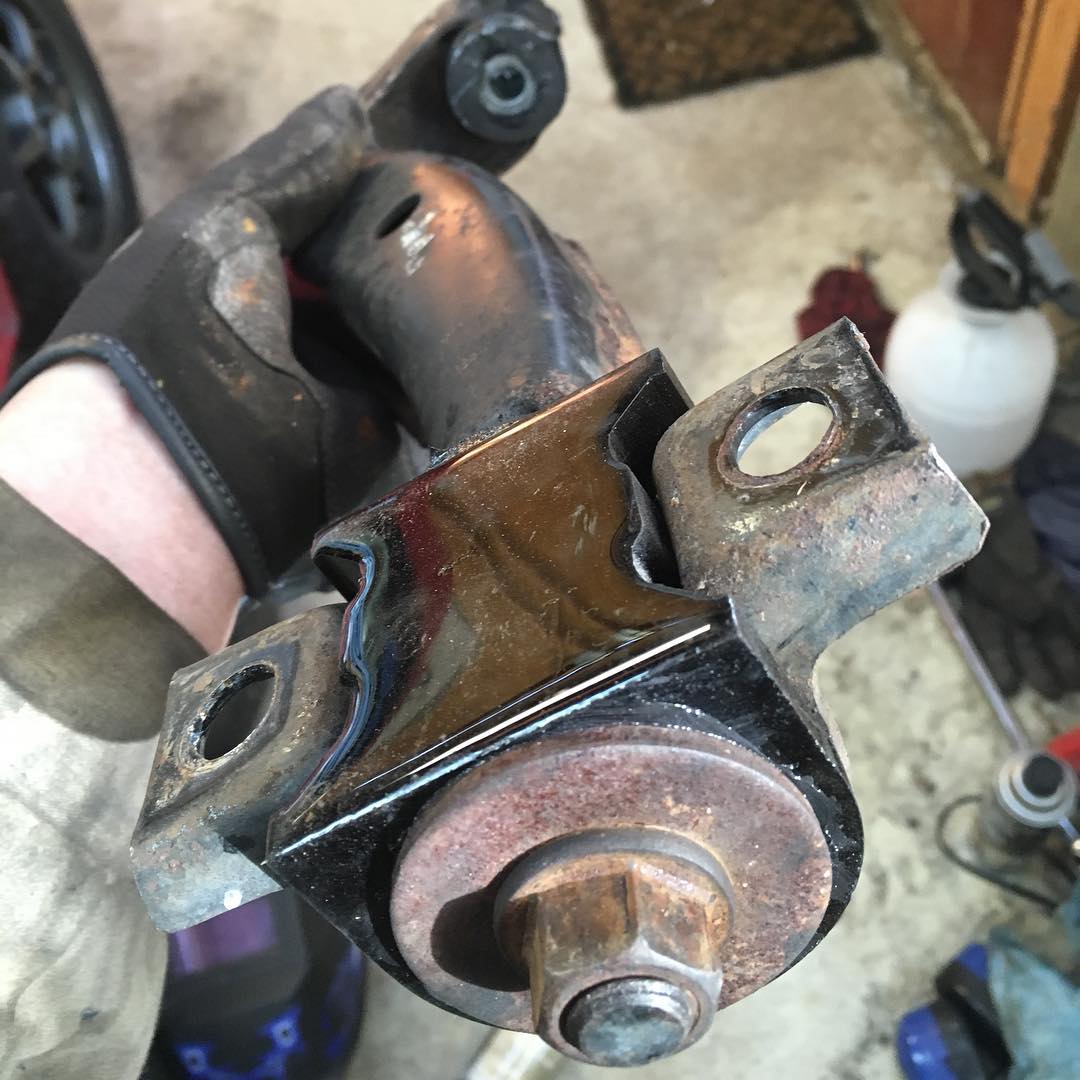
Here are the new polyurethane bushings installed on the control arms. They really helped stabilize the front end.
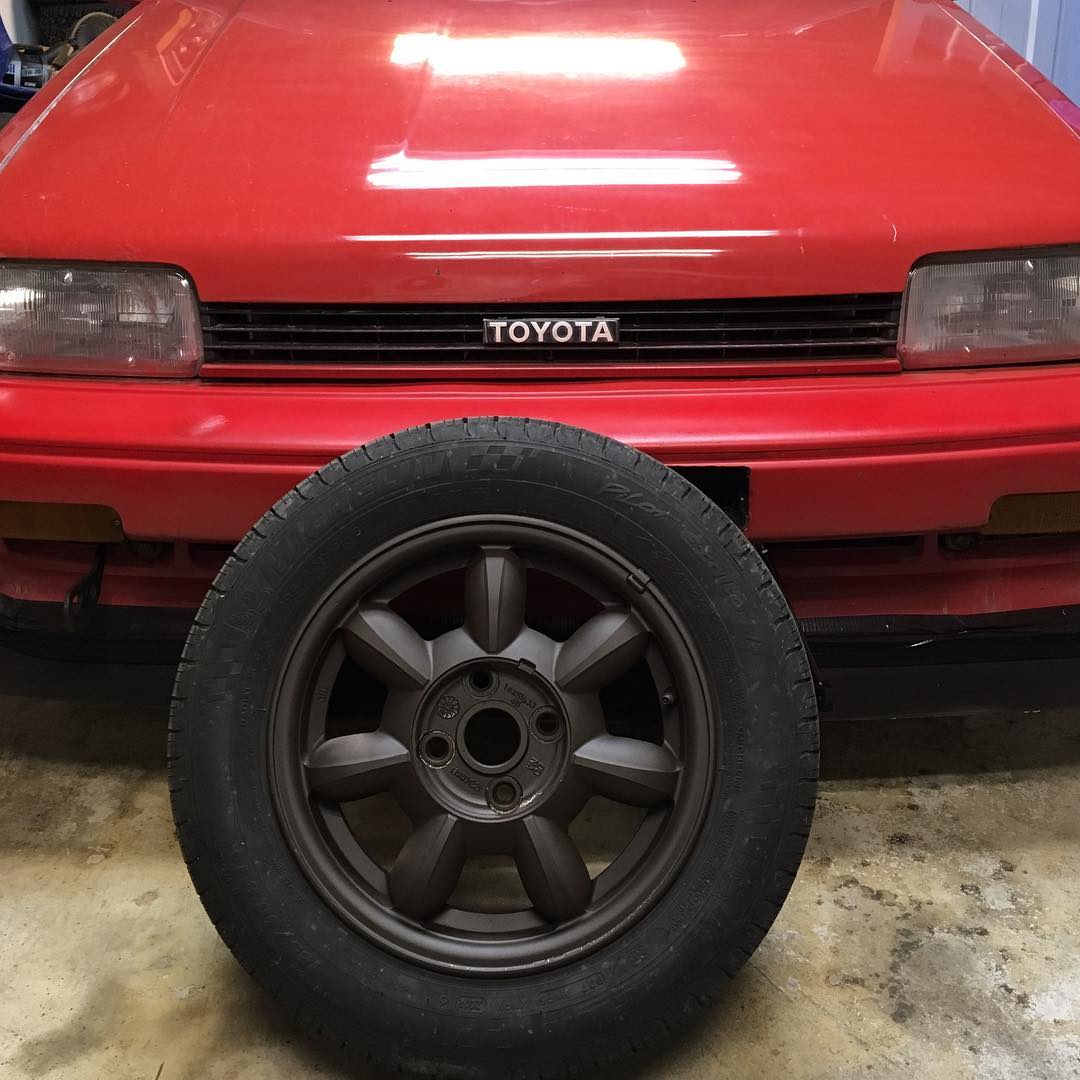
The wheels that came on the car were these NA Miata daisy wheels. Iíll throw these on for occasional street driving or to go to events more than 10 minutes away. These wheels were looking pretty bad so I gave them a coat of brown paint I had laying around.
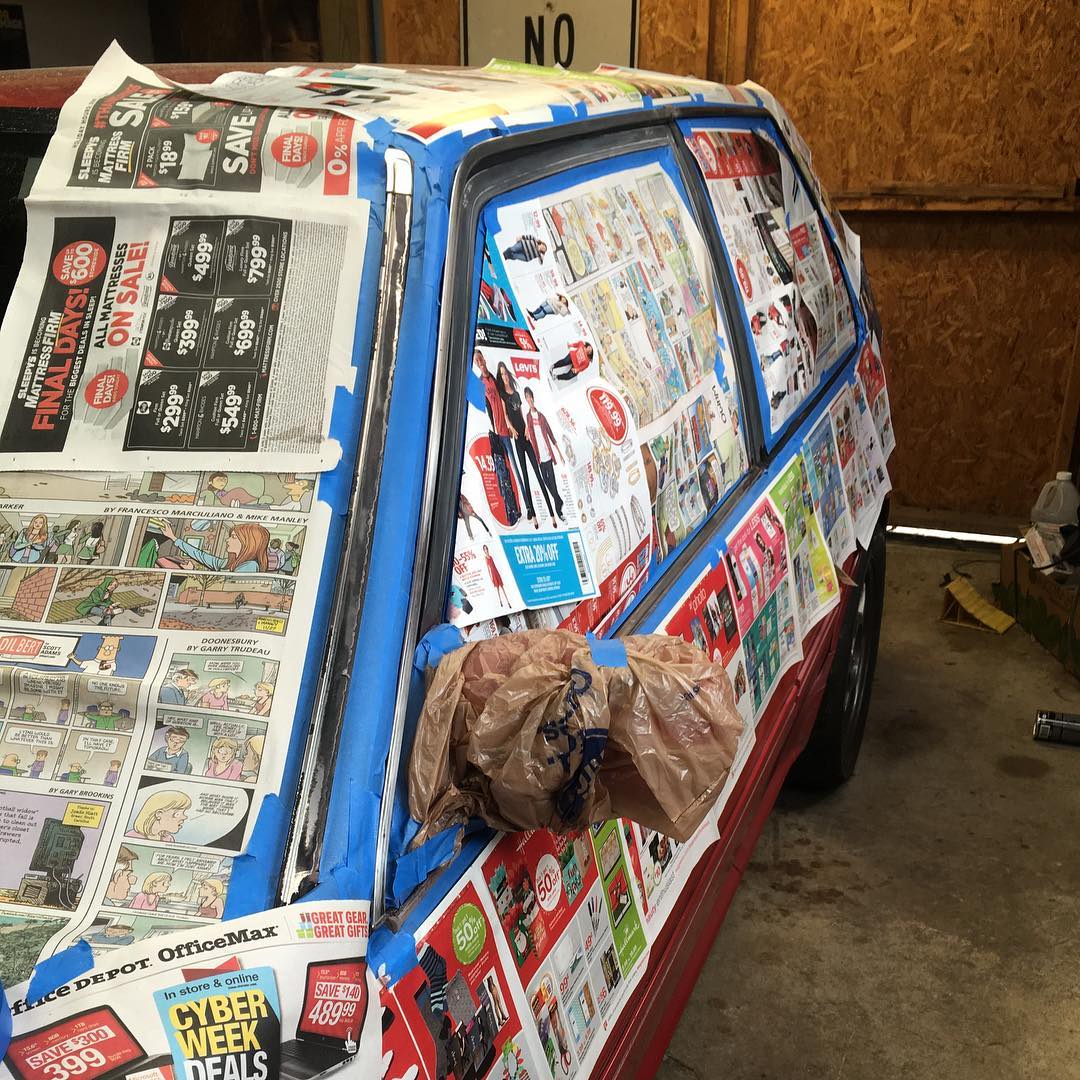
Next up was painting the tired trim a nice coat of satin black. Just because itís a track toy doesnít mean it canít look decent.
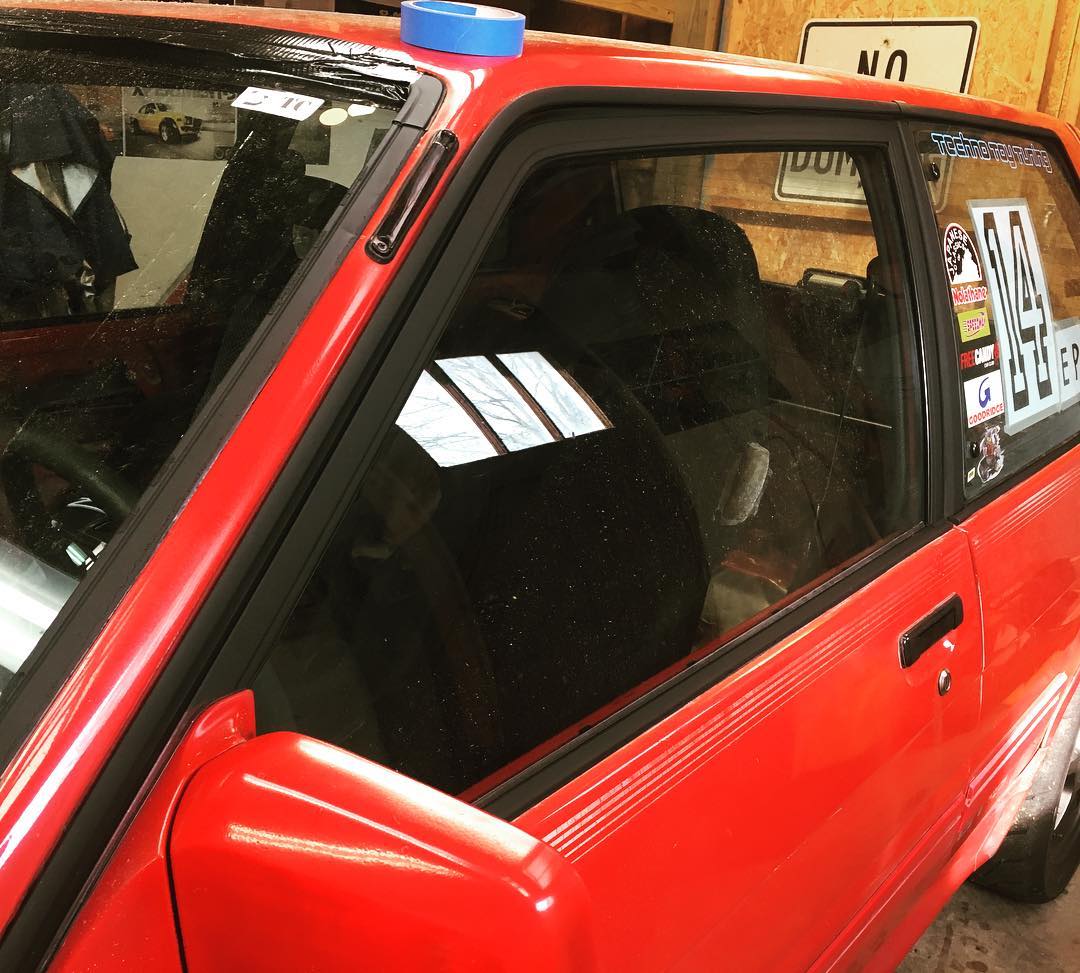
Much better.
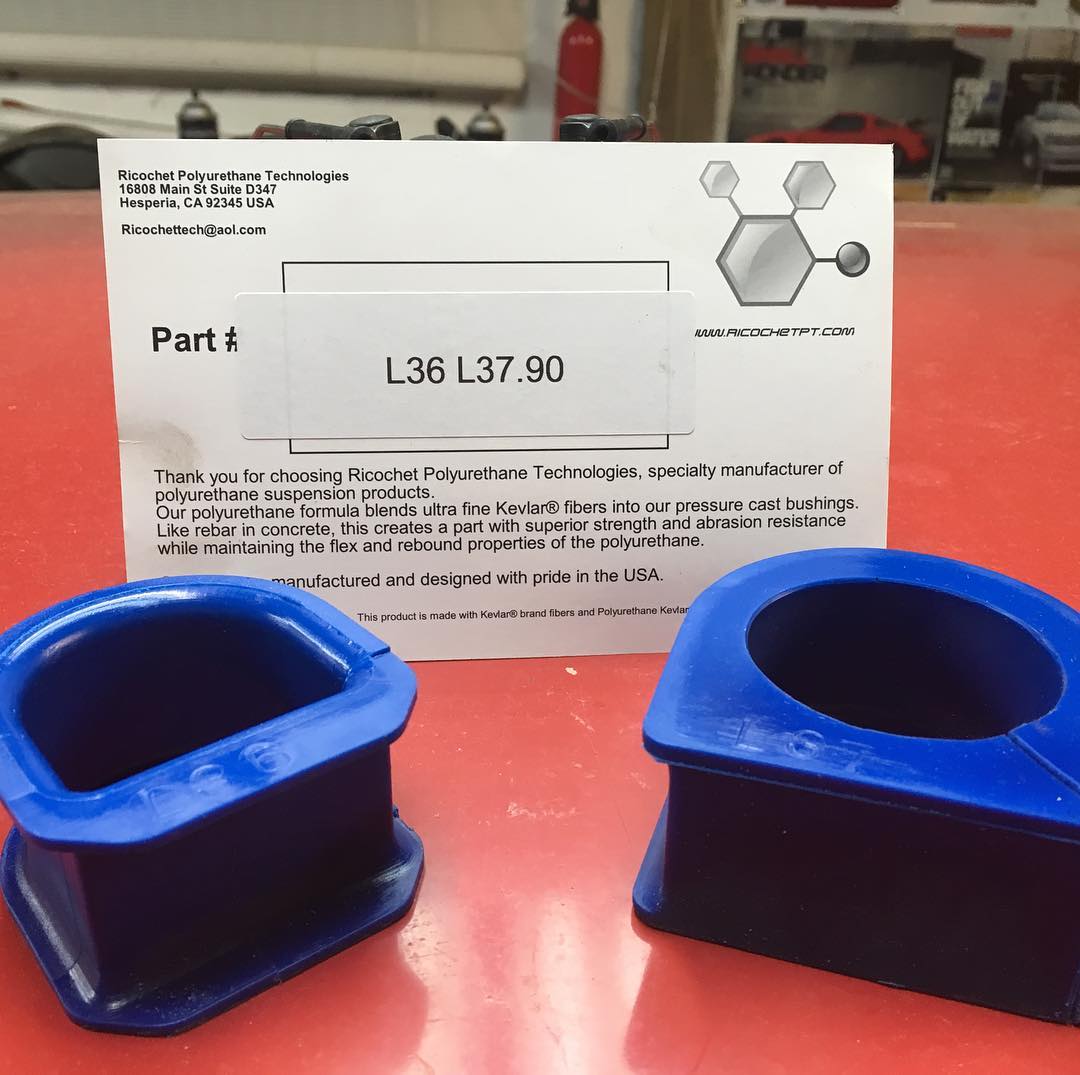
Another cheap upgrade to keep the front end nice and tight was this set of polyurethane steering rack bushings from Ricochet Polyurethane Technologies I found on eBay.
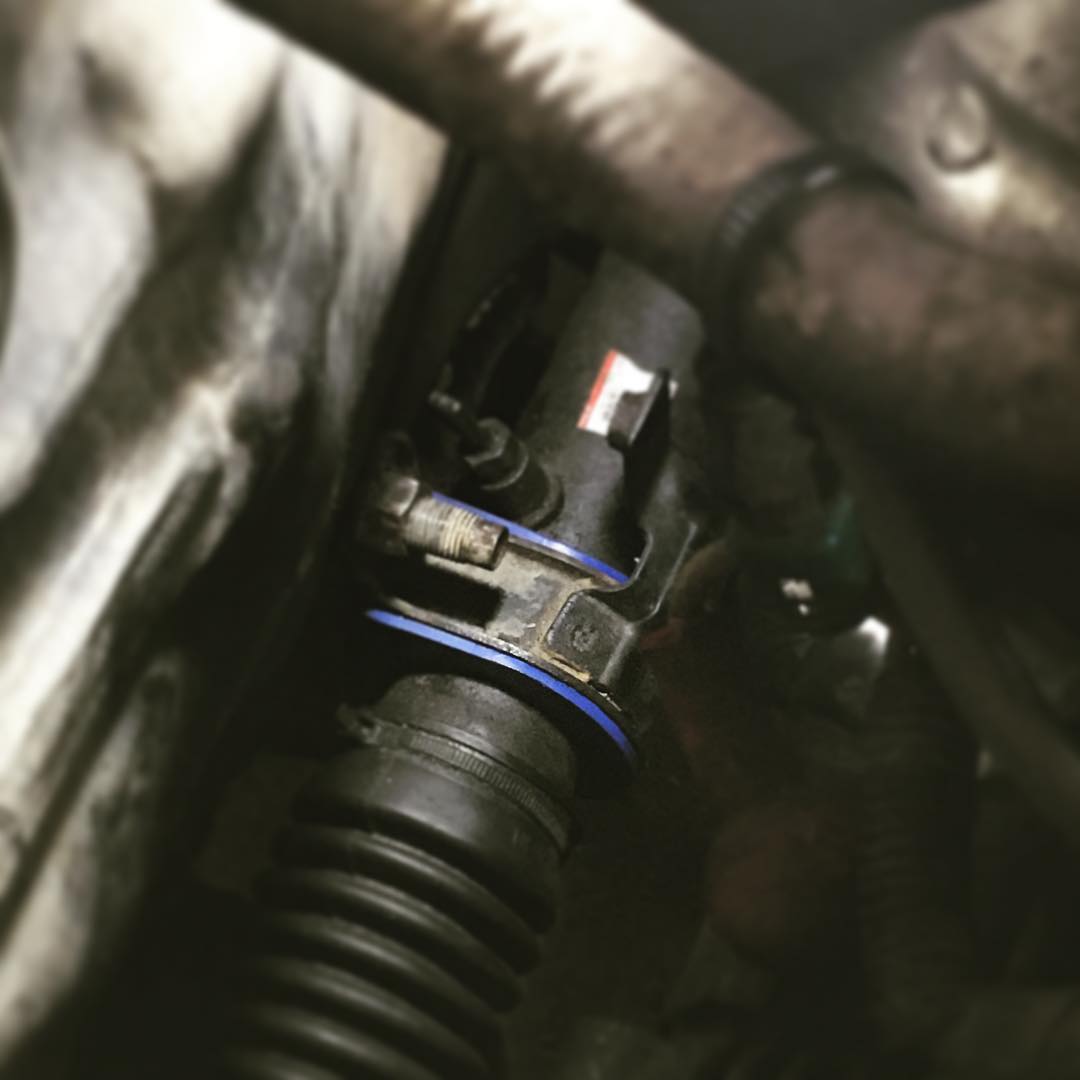
I had forgotten how much of a pain it is to get to these bolts. For the driverís side I had to remove the rear engine mount and bracket from the transmission!†
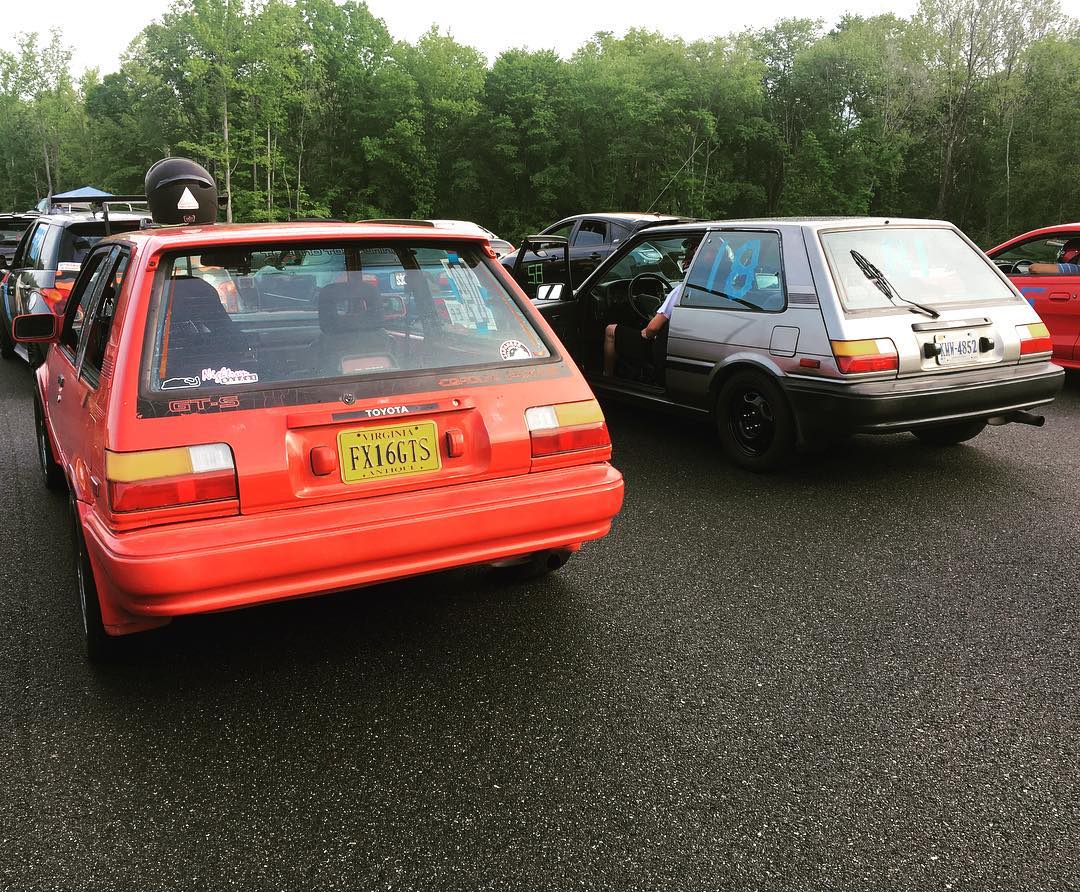
With these mods installed clearly the best way to test them is.....another trackcross event! This time my buddy Brian in his 4A-GE swapped FX came along. I donít know that Iíve ever seen two of these in the same place together before.
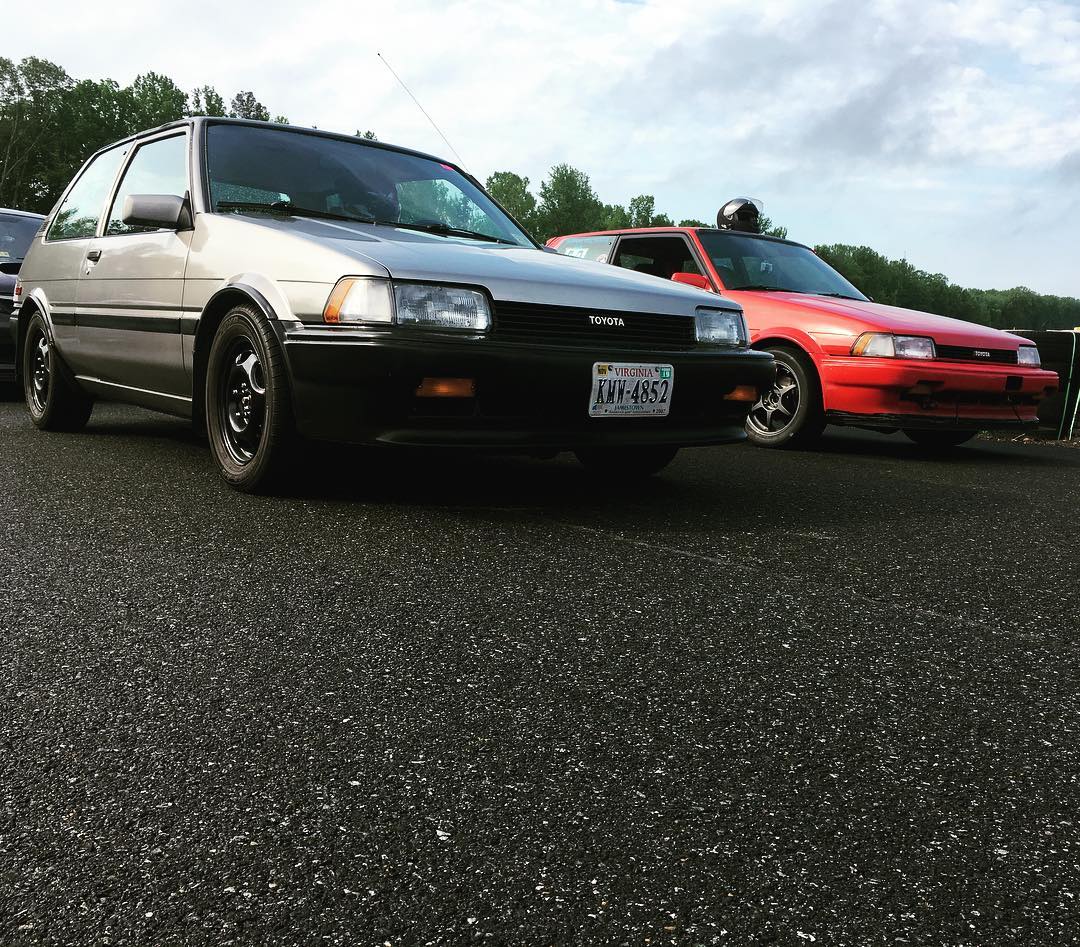
Brian did great for his first trackcross event. We even swapped cars for one run just to see the differences between them. His car is much cleaner and is his daily driver street car so it was definitely softer, but still loads of fun. Of course the day wouldnít be complete without some sort of mechanical oddity. Brianís distributor cap and rotor essentially melted, resulting in an emergency trip to the auto parts store after the event. Fortunately it happened near the end of the day so he still got almost all his runs in.
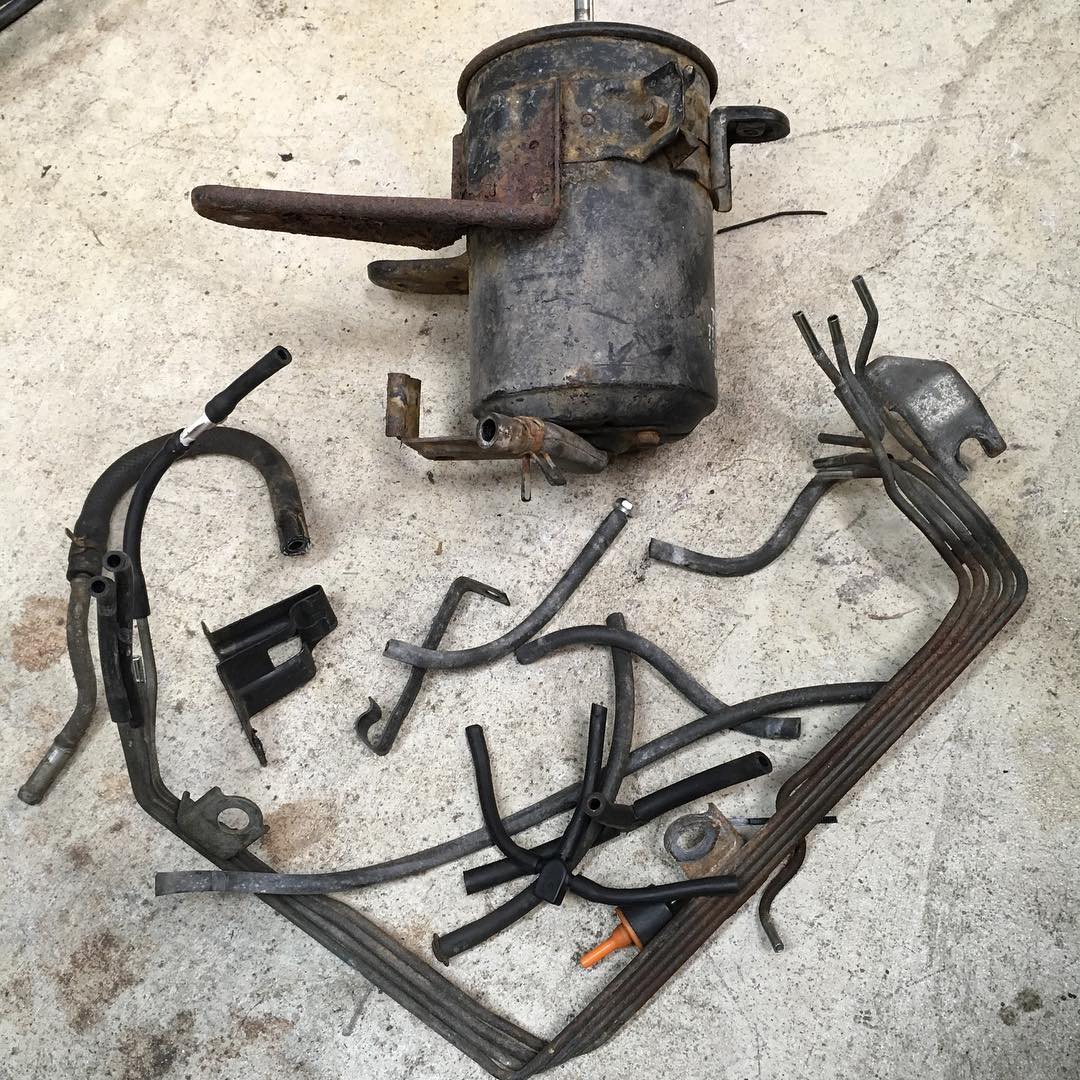
I didnít get away scot-free either. This time it was an apparent fuel leak from inside the chassis rails, as it was leaking from the pinch welds. Upon further inspection it was determined that the charcoal canister vents to inside the chassis rail right above where the fuel was leaking from. Usually this type of issue is caused by overfilling the tank, but I only filled to the first ďclickĒ as always. Additionally, the fact that this happened at the end of the day after driving an hour to the track, the whole morning session, and half of the afternoon session leads me to believe it was a fuel sloshing issue. I was definitely pushing the car much harder later in the day, and I think the fuel in the tank sloshed up into the pressure vent tube, filling the canister.
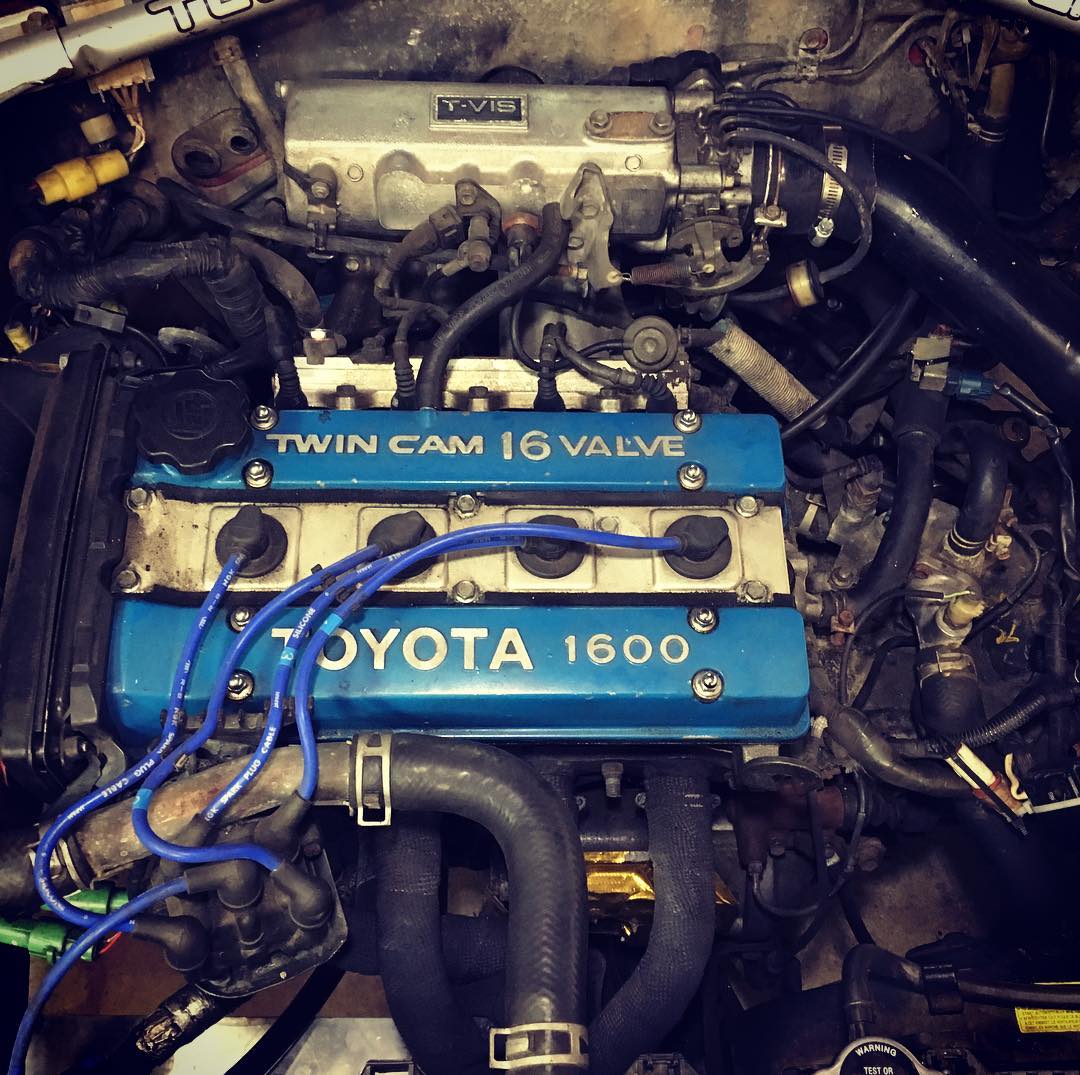
With the canister essentially ruined by fuel saturation, I decided to remove it along with all the other vacuum lines I no longer needed from other accessories long since deleted. I extended the vent line all the way back under the car, exiting roughly near the left rear wheel well, away from anything hot. I also re-routed the throttle cable behind the engine, under the intake manifold. All of this really cleaned up and simplified the engine bay.
Thatís it for now, hopefully there will be some more interesting modifications on the horizon so stay tuned!
 sony1492
> MR2_FTW - Group J's resident Stig
05/17/2018 at 16:59 |
|
Mildly related: Bought some rear sway bar bushings from ricochet a little over a year ago, not sure if it made a difference but they didnít disintegrate.